5 Efficient Cleaning House Tips
Do you want to learn how to clean your home more efficiently? Save time by learning these five efficient cleaning house tips!
Knowing how to deep clean your house quickly can save you a lot of time and energy. When your free time is scarce, knowing a few house cleaning secrets can be a lifesaver.
From the supplies to how to clean your floors, this guide has all the best cleaning house tips. Here’s a round-up of everything you need to know to clean your house like a pro.
1. Get Your Supplies Together
Knowing how to keep a clean house starts with the right supplies. To begin, choose a tote, bucket, or caddy to store everything in so you’ll be able to carry it with you from room to room.
Some basic cleaning supplies to keep in your caddy include microfiber cloths, an all-purpose kitchen cleaner, a tile and bathtub cleaner, a toilet brush, a glass cleaner, and a duster or dusting cloths.
A mop, vacuum, broom, and garbage bags are also essentials. For a good clean, you can fill a bucket of warm water and dish soap to use with your mop or on surfaces.
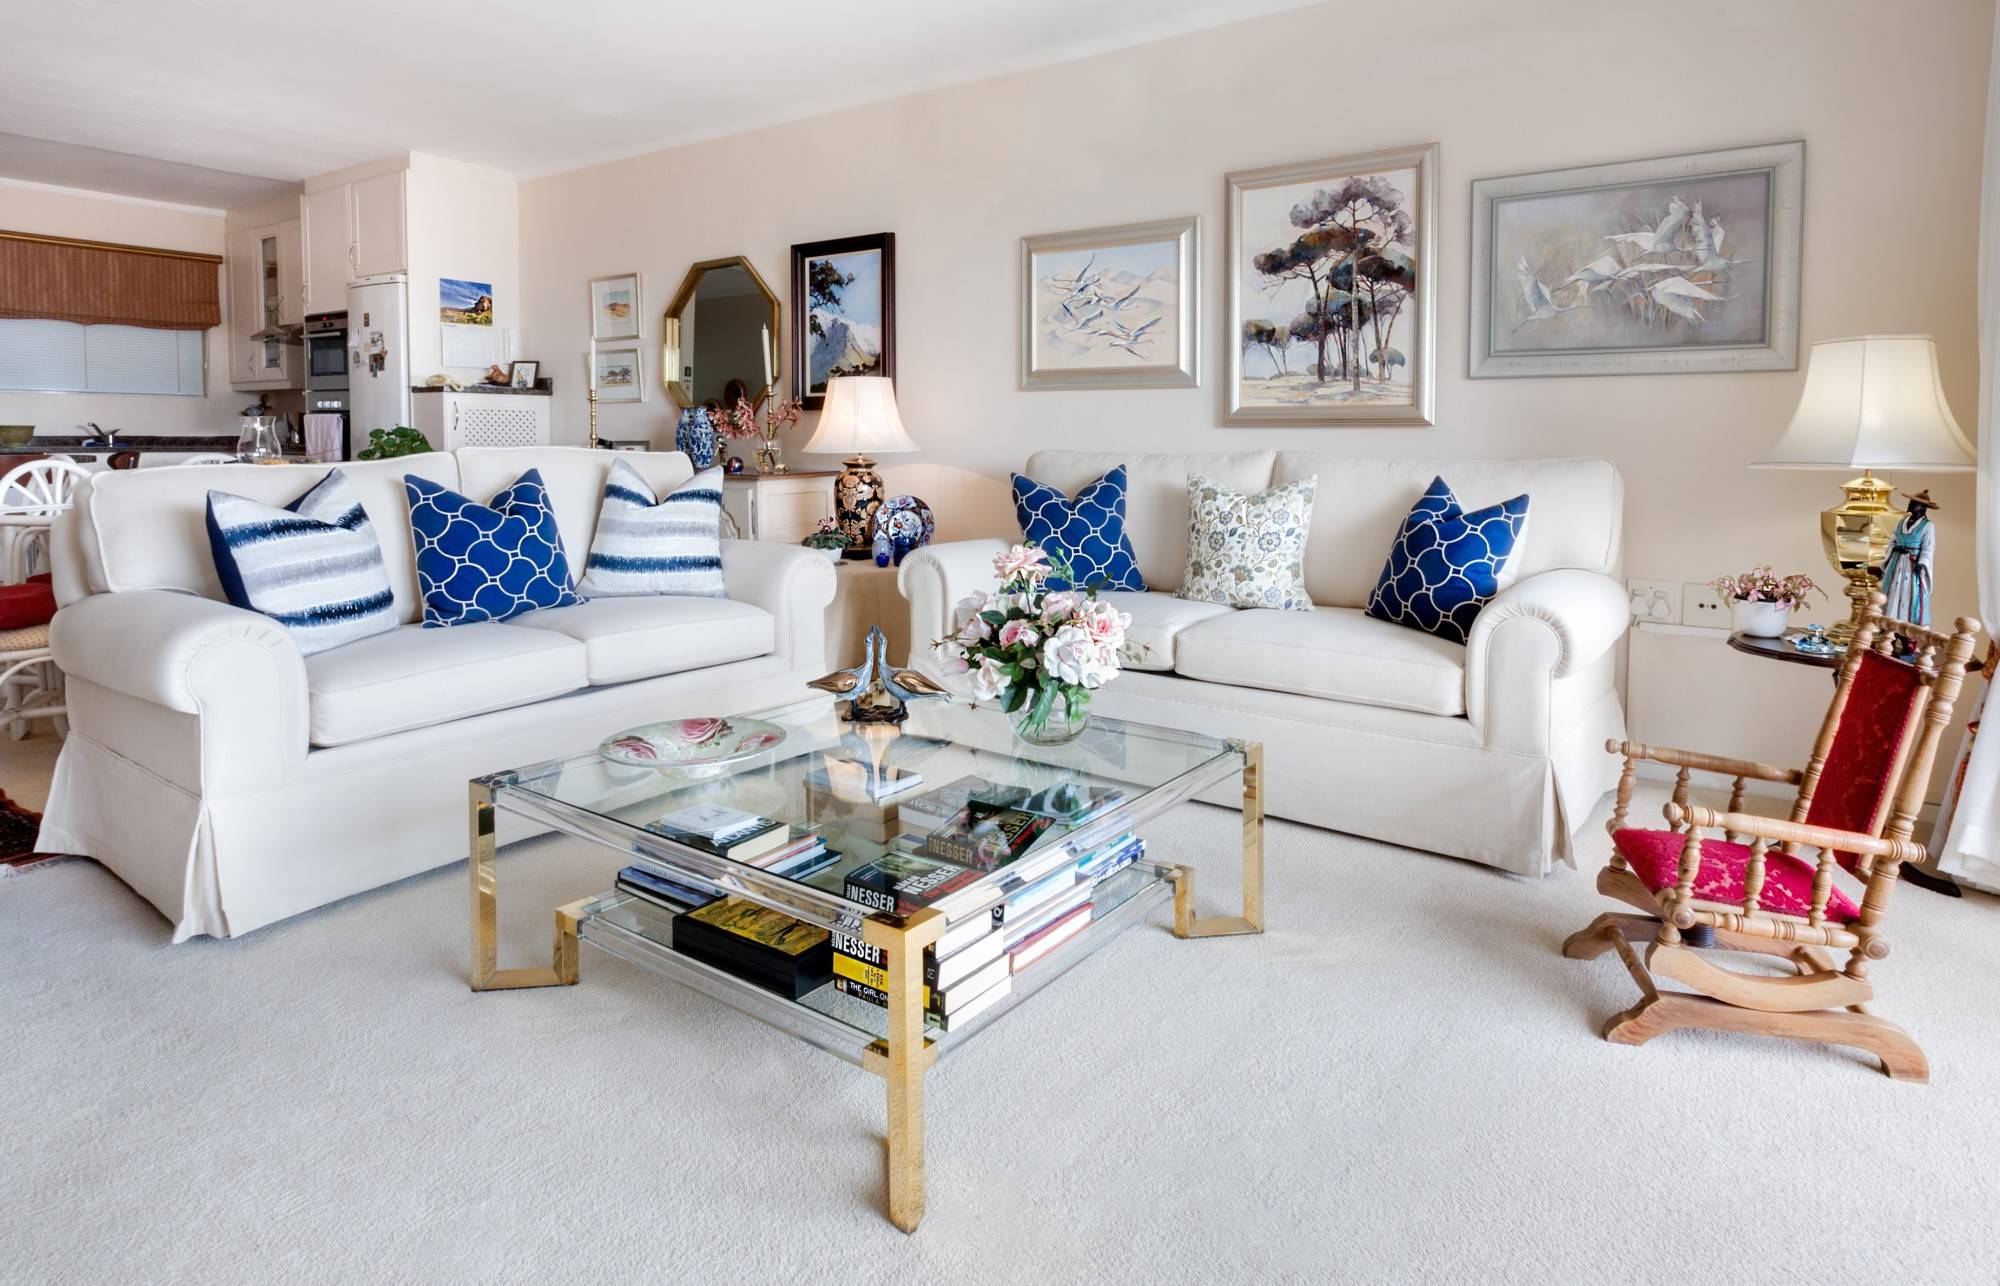
2. Clean up the Clutter
One of the best ways to speed up the cleaning process is to clear away the clutter. You’ll constantly be slowed down by stuff if you don’t pick up before you clean. Clear off all your surfaces, tables, and countertops for easy wiping. Don’t forget the floors.
This is a great place to involve the whole family as well. Have your kids help you pick up their toys and belongings to make vacuuming and sweeping a lot faster.
3. Don’t Just Clean One Room at a Time
One of the reasons people tend to feel overwhelmed by cleaning is because of all of the rooms. To make the house more manageable, do one task all at once.
Instead of cleaning one room at a time, go through the entire house and pick up. Next, vacuum, sweep and mop the floors. Then you can tackle the surfaces and windows.
If you have more than one bathroom, clean all the showers, tubs, and toilets at the same time. This will also help make sure your toilet brush and bathroom cleaners are handy.
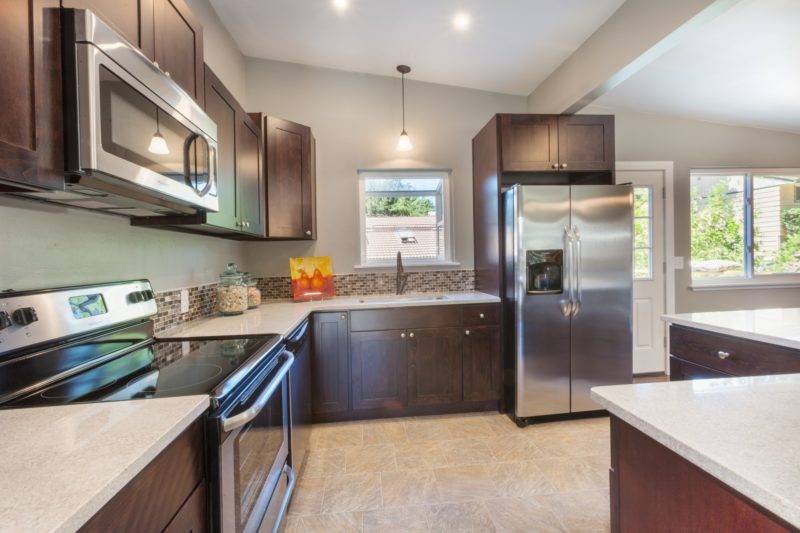
4. Flooring 101
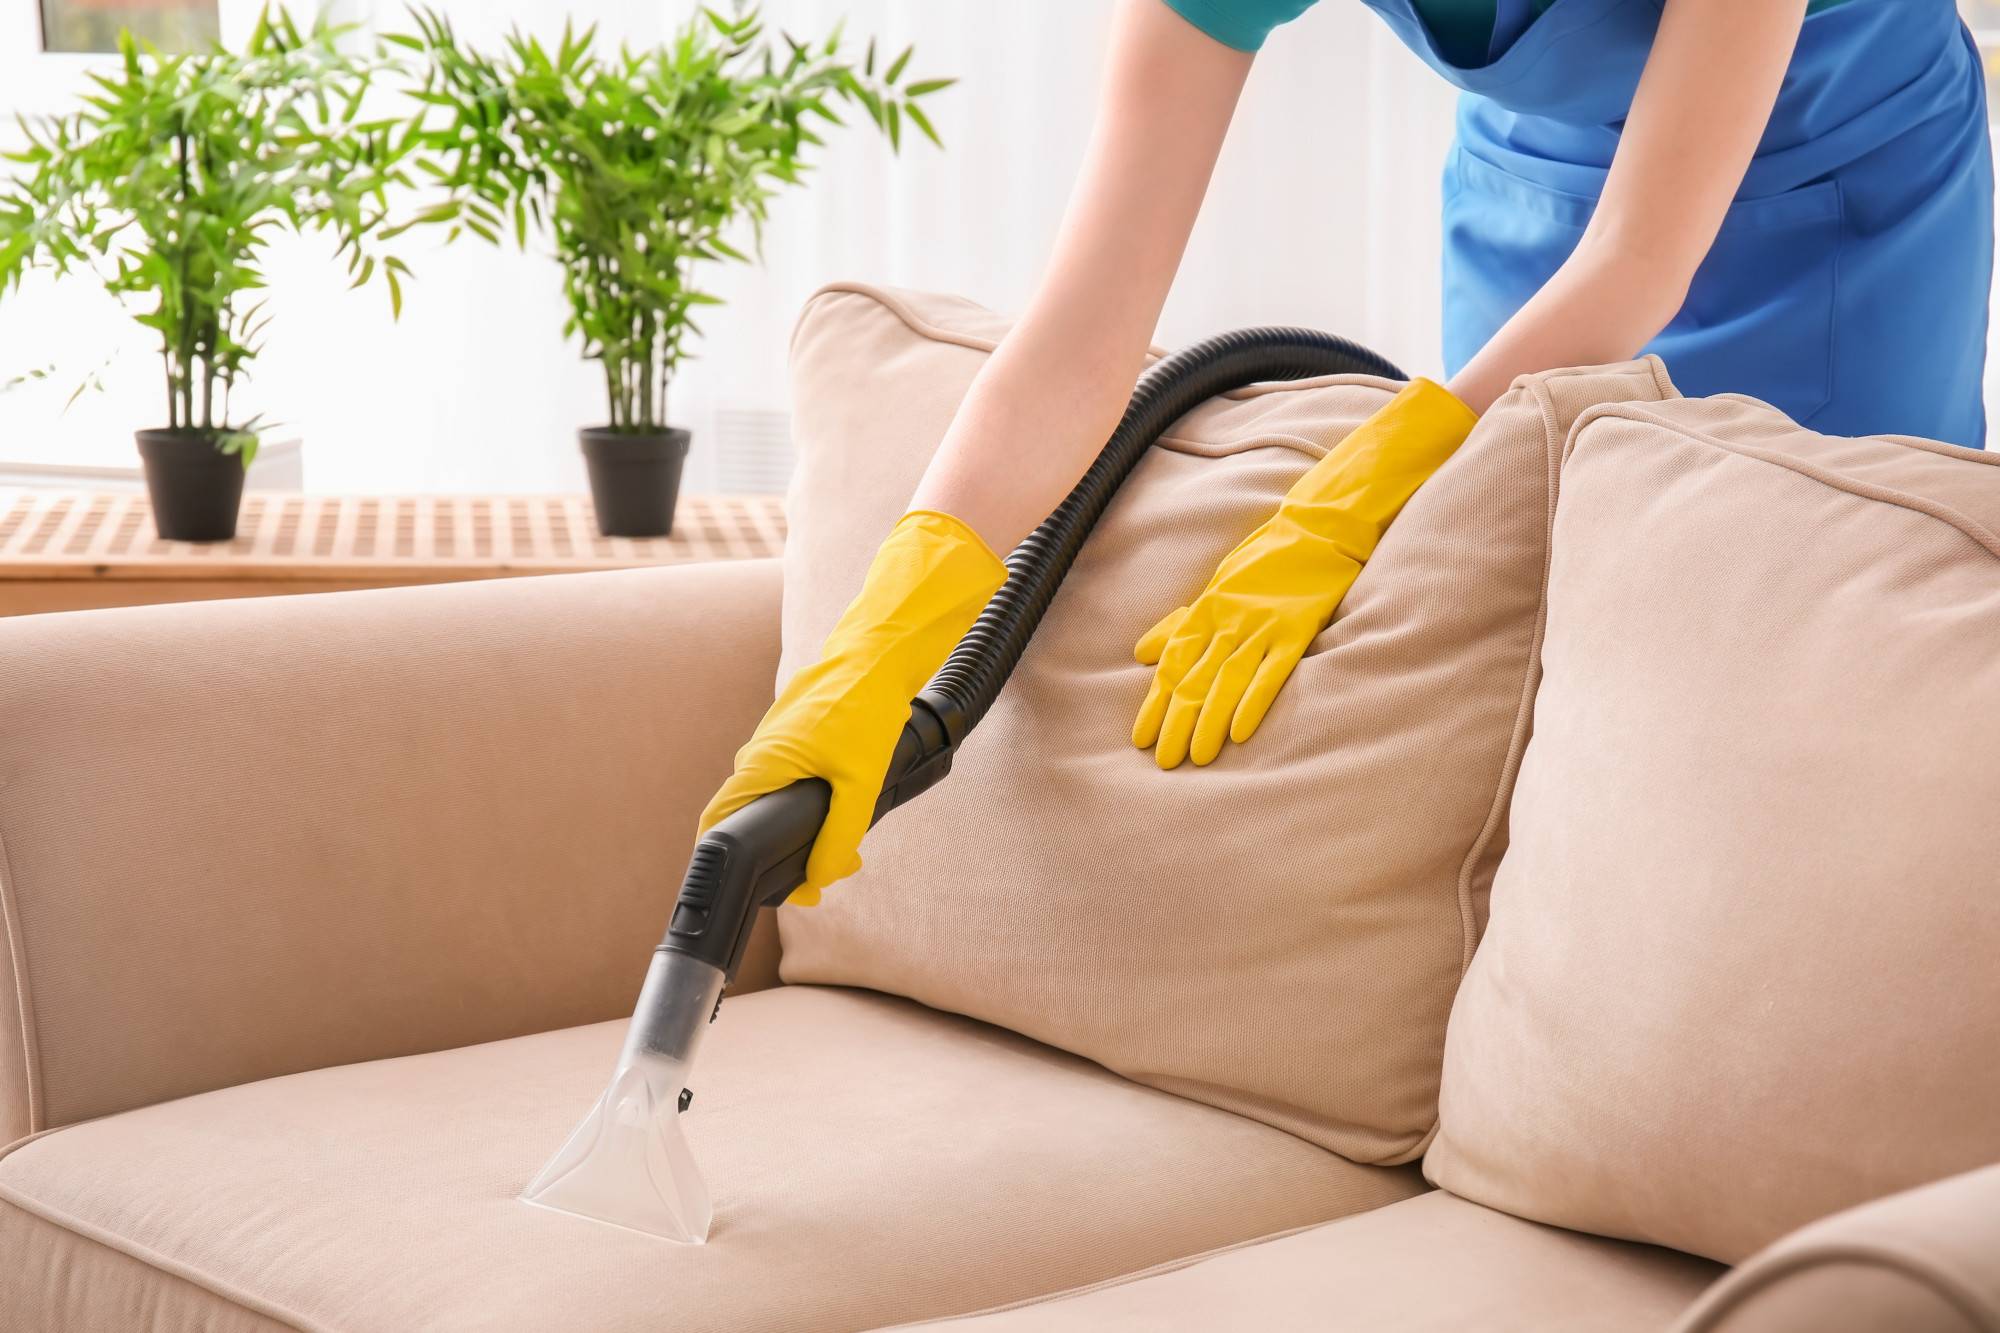
Your floors are one of the main areas in your home to keep clean regularly. After you’ve picked up, sweep your hardwood floors and tile. You can then run a mop along the floor with soapy water. Start in the corners and work your way towards the door so you don’t block yourself in. Use a vacuum on carpets and rugs.
Don’t forget your stairs and underneath the furniture as well. It can save time if you pick-up chairs and stools ahead of time to make room for your mop or vacuum.
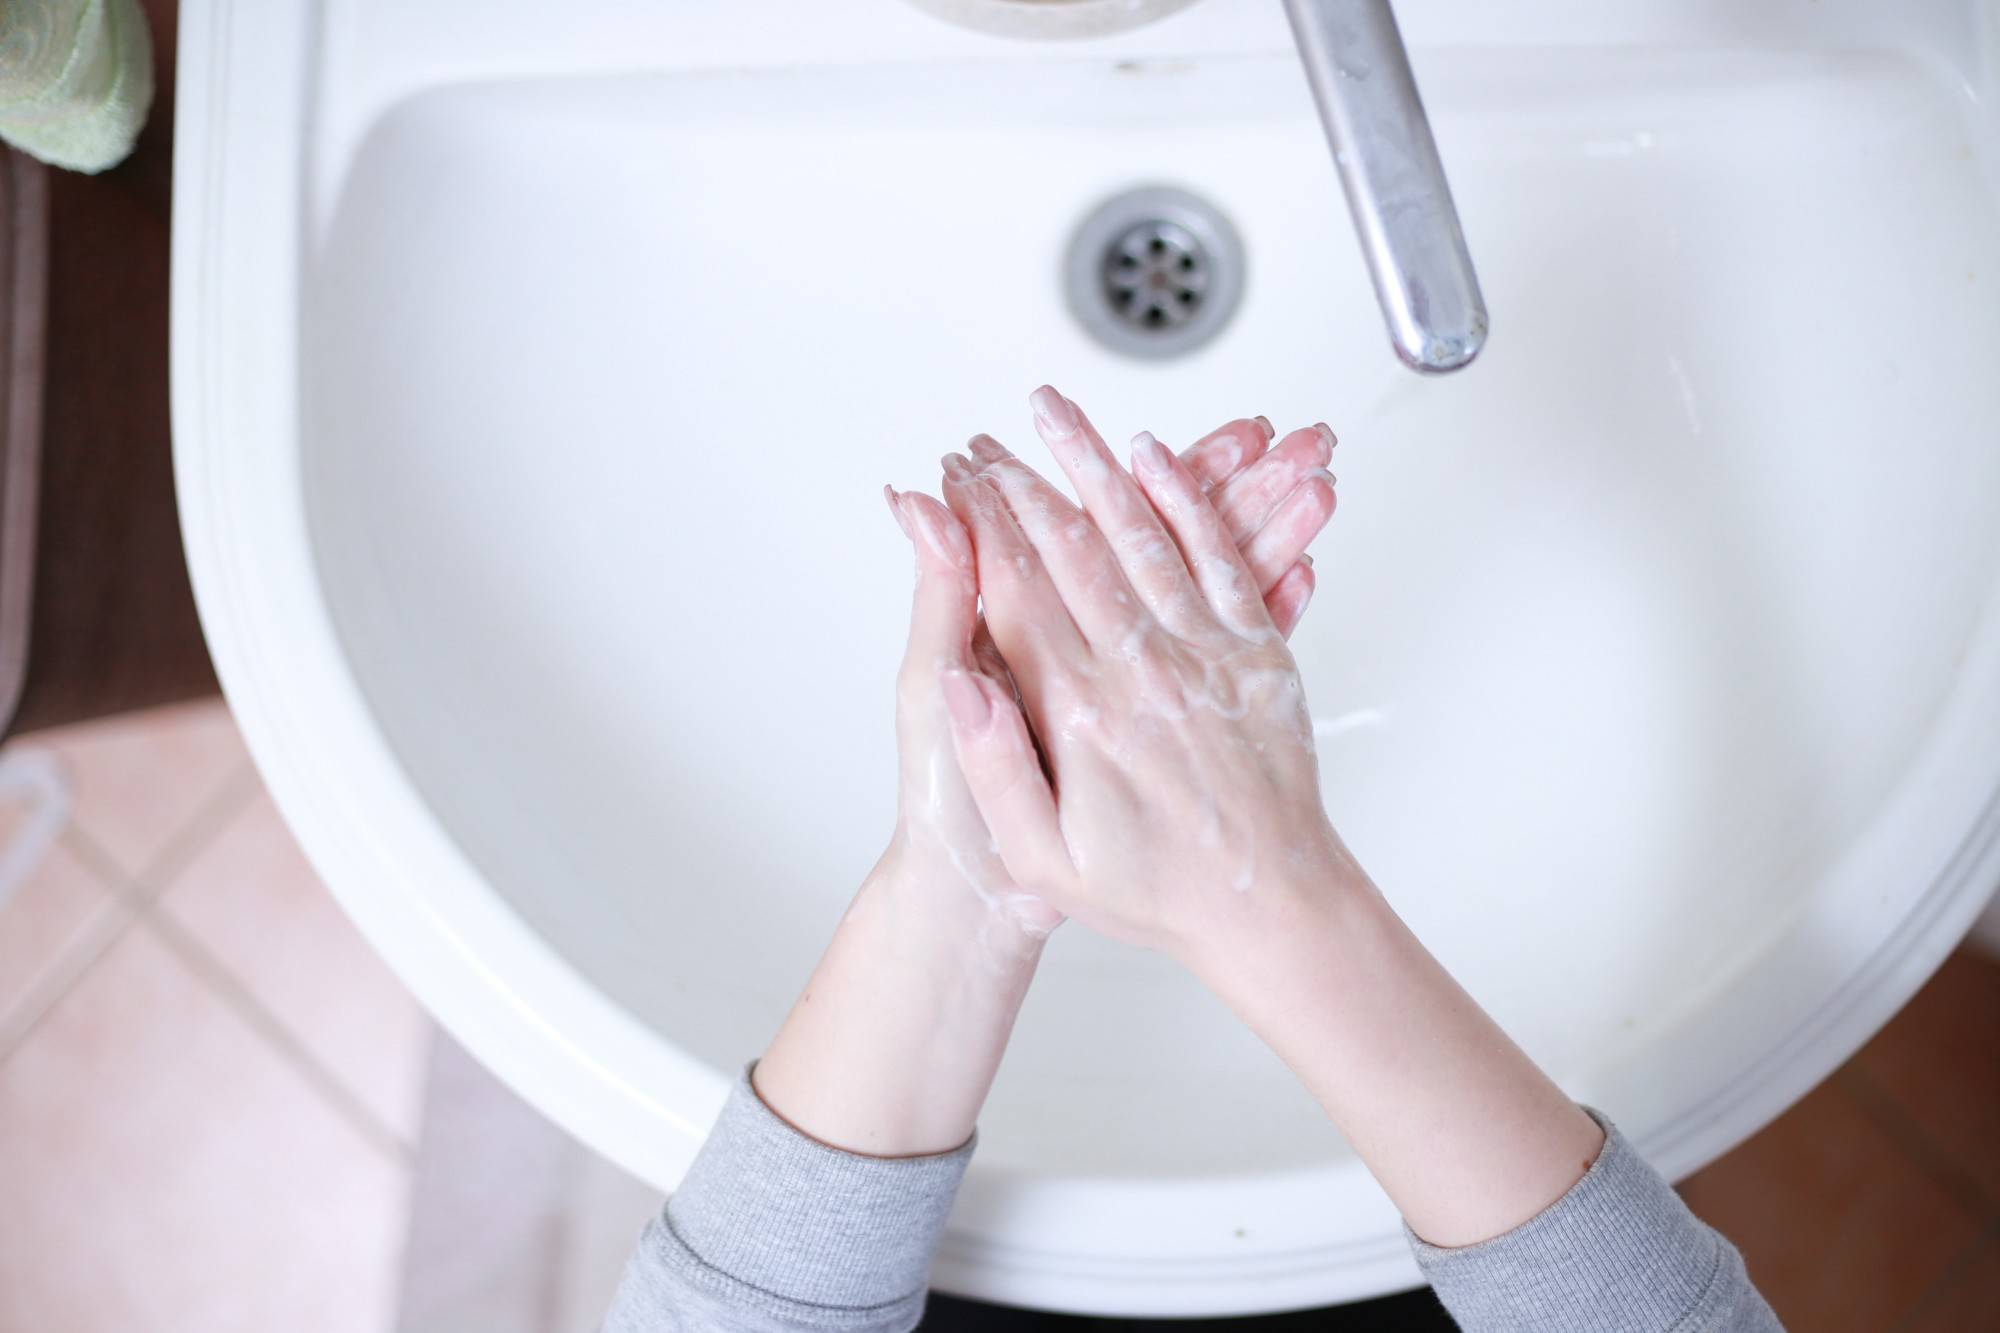
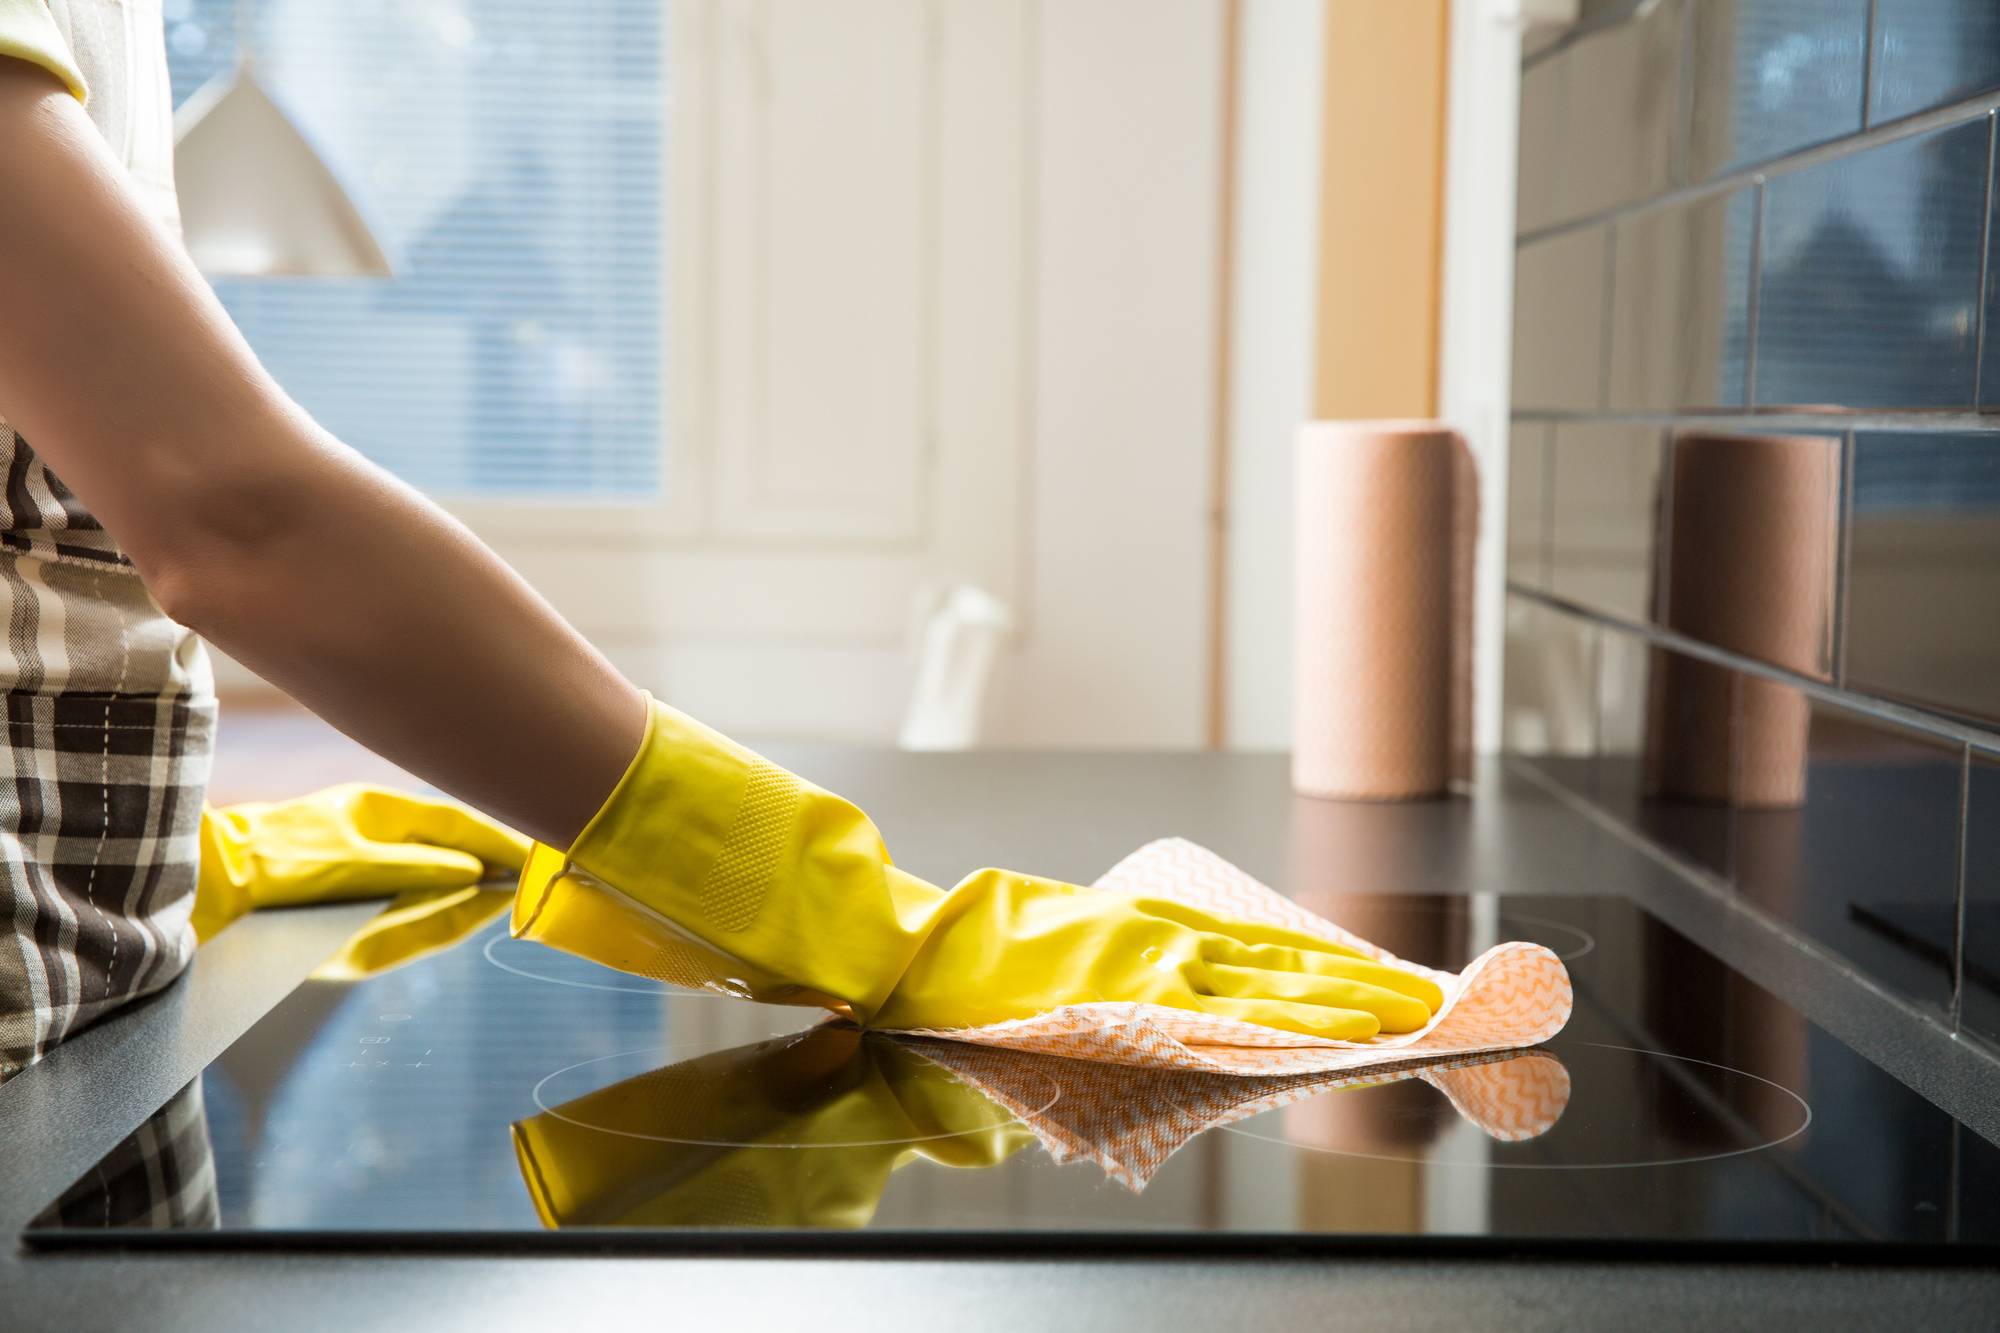
5. Scrub and Disinfect
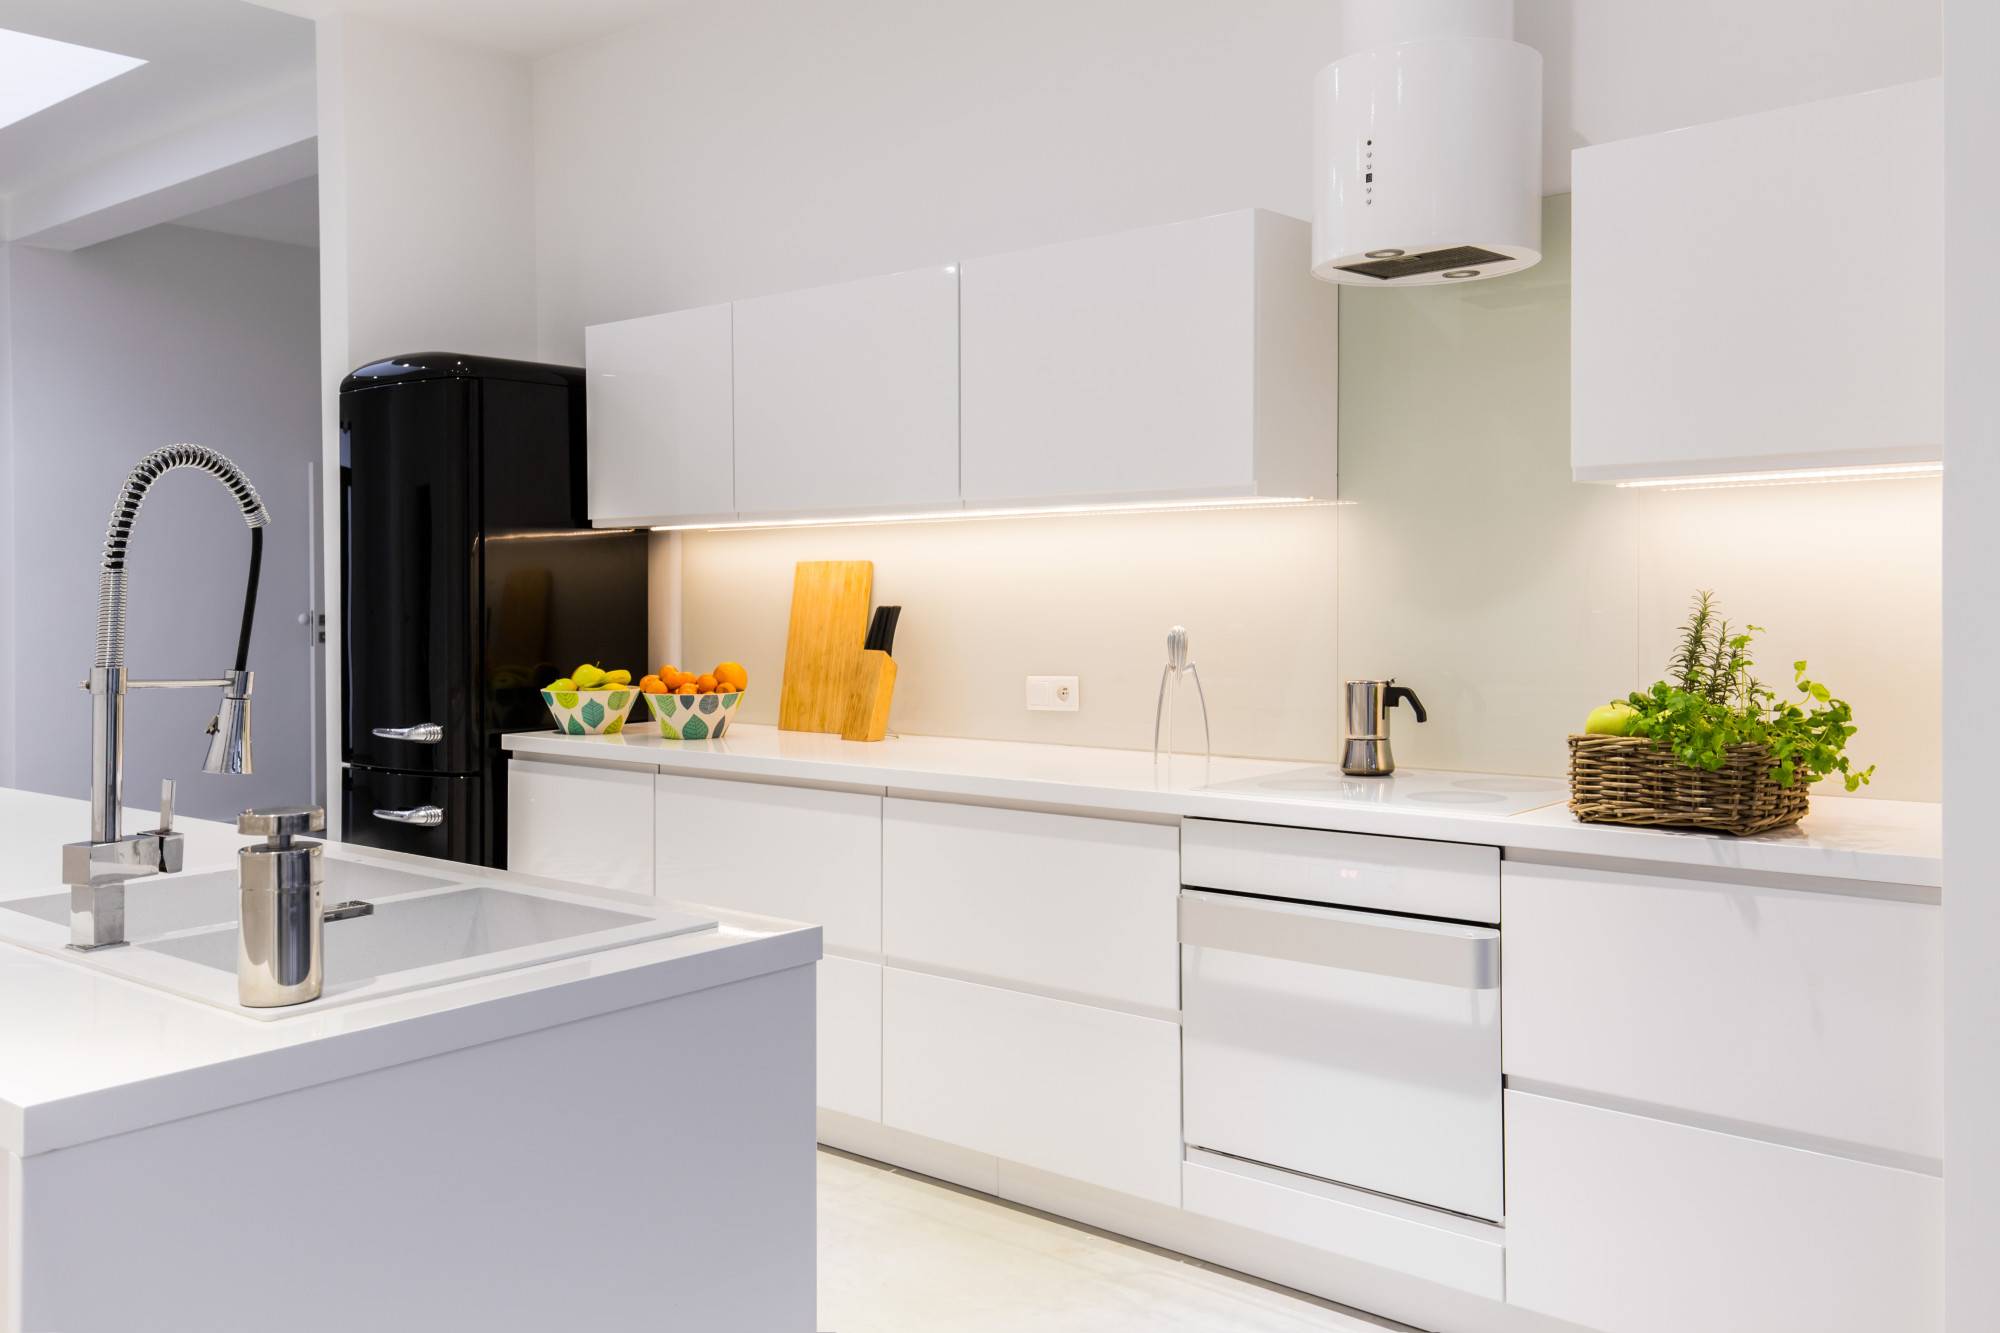
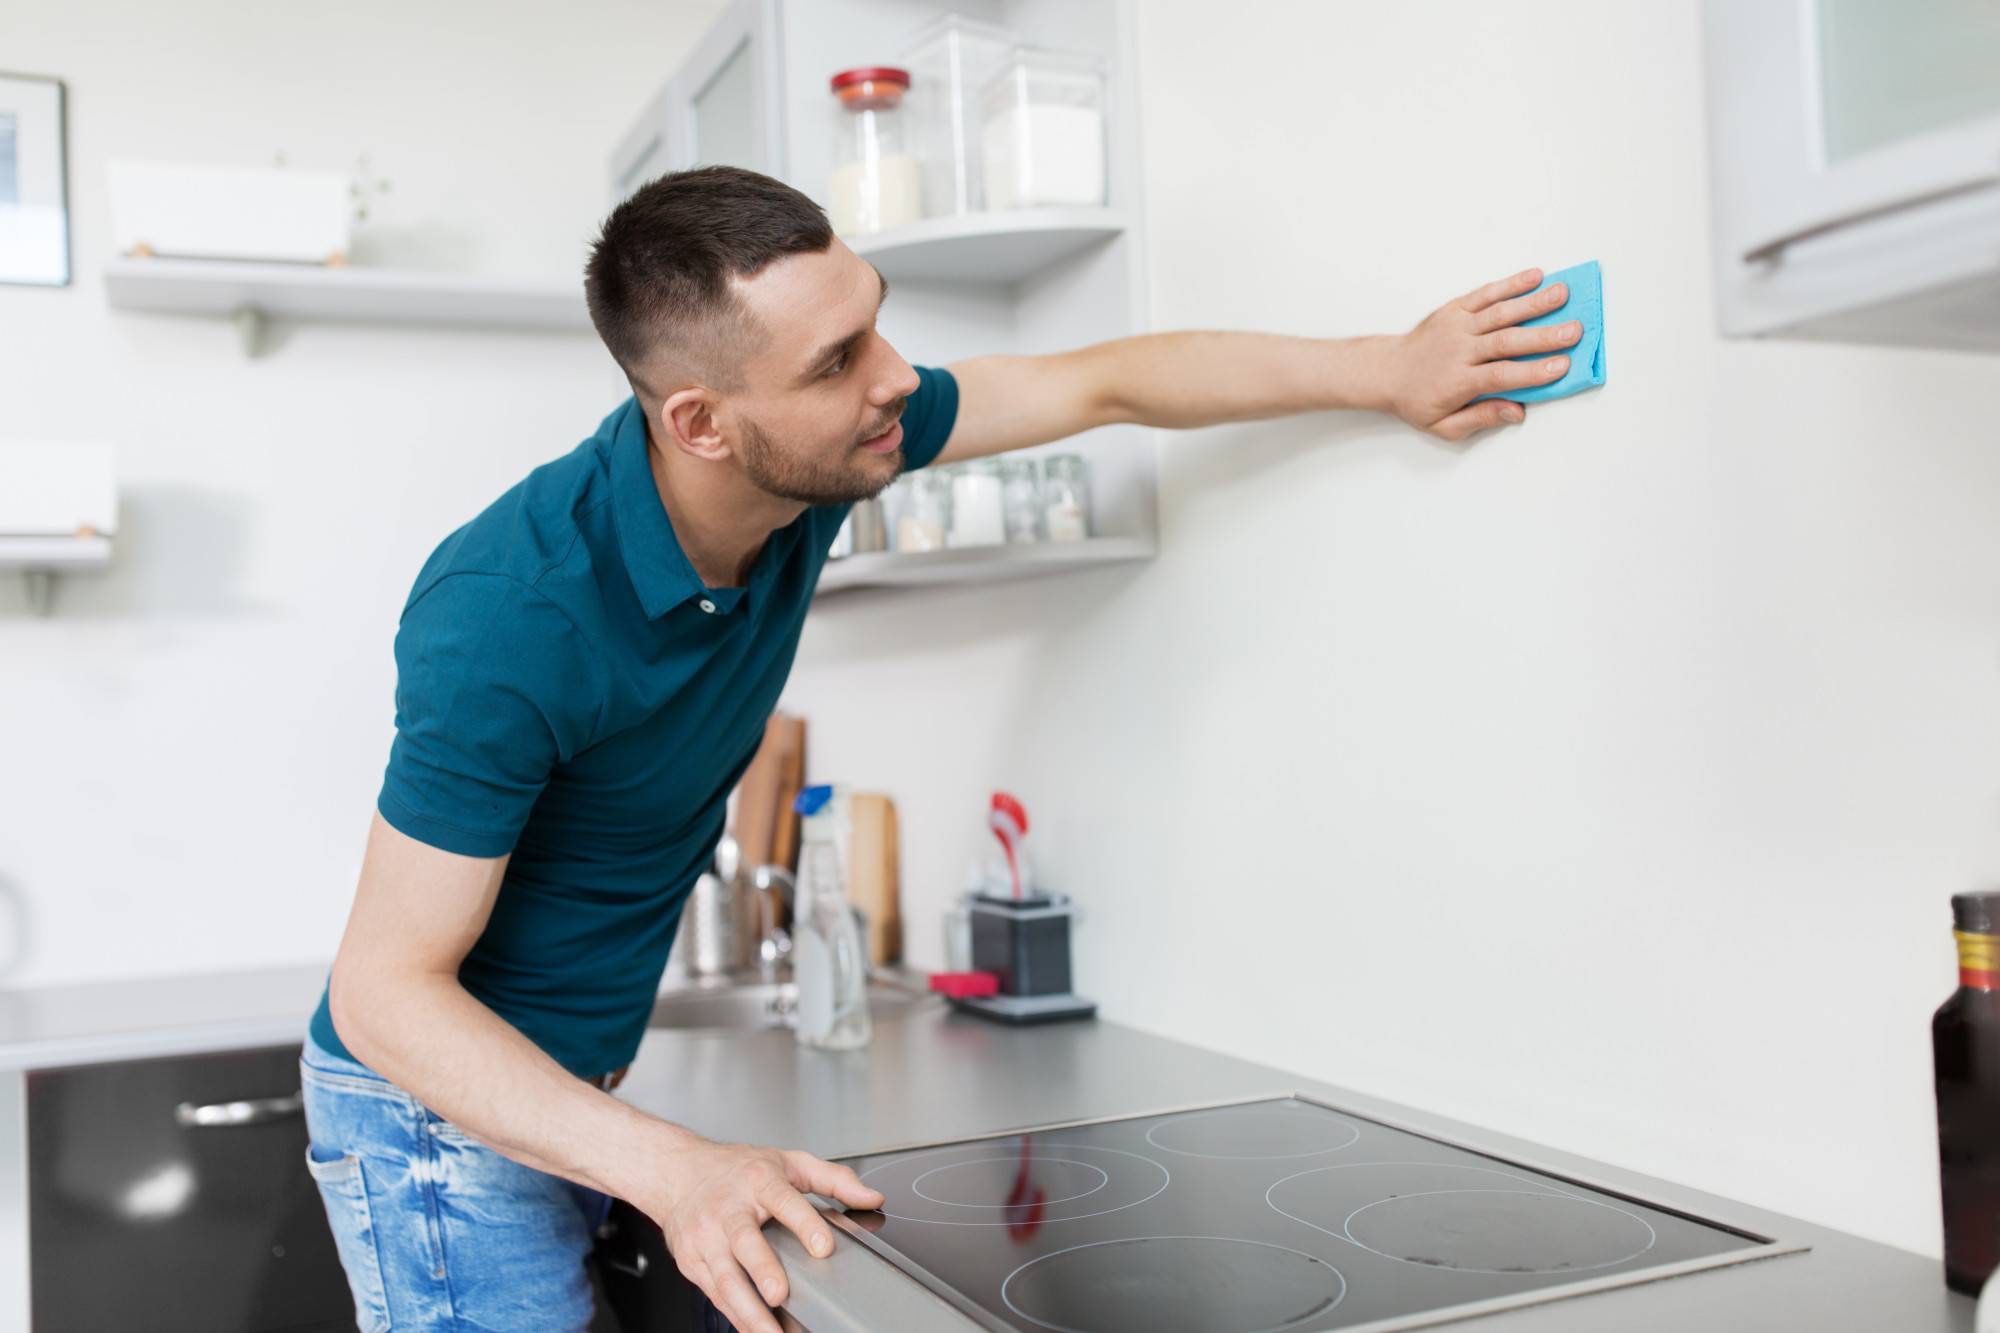
The most important part of cleaning the house is cleaning your surfaces. To ward off germs, bugs, and viruses, disinfecting your surfaces is key. Start with your most-used surfaces in the kitchen and highly trafficked areas.
When you’re doing a deeper clean, make sure to get all your surfaces. This includes bathroom counters, dressers, and play spaces. Disinfecting your counters and bathrooms will help keep your family healthy.
Allergies and winter colds are all exasperated when mildew, dust, and bacteria are left on frequently touched surfaces.
Cleaning House Tips
Your time is valuable. Knowing how clean your house quickly and effectively will save you a lot of precious hours.
While these cleaning house tips can help make life easier, you can also turn to a trusted area professional when you can’t take the time to get your house as clean as you’d like.