Keeping a clean and tidy home is essential for many reasons. Not only does it create a more pleasant living environment, but it also promotes good health and well-being. However, maintaining a clean home can be a daunting task, especially for busy individuals who don’t have the time or energy to dedicate to cleaning. This is where hiring a professional cleaner can be a game-changer. In this article, we will explore the benefits of hiring a professional cleaner for your home.
- Saves time and energy One of the biggest benefits of hiring a professional cleaner is that it saves time and energy. With a professional cleaner taking care of the cleaning tasks, you can focus on other important aspects of your life, such as work, family, or hobbies. You won’t have to spend your weekends or evenings cleaning, allowing you to relax and enjoy your free time.
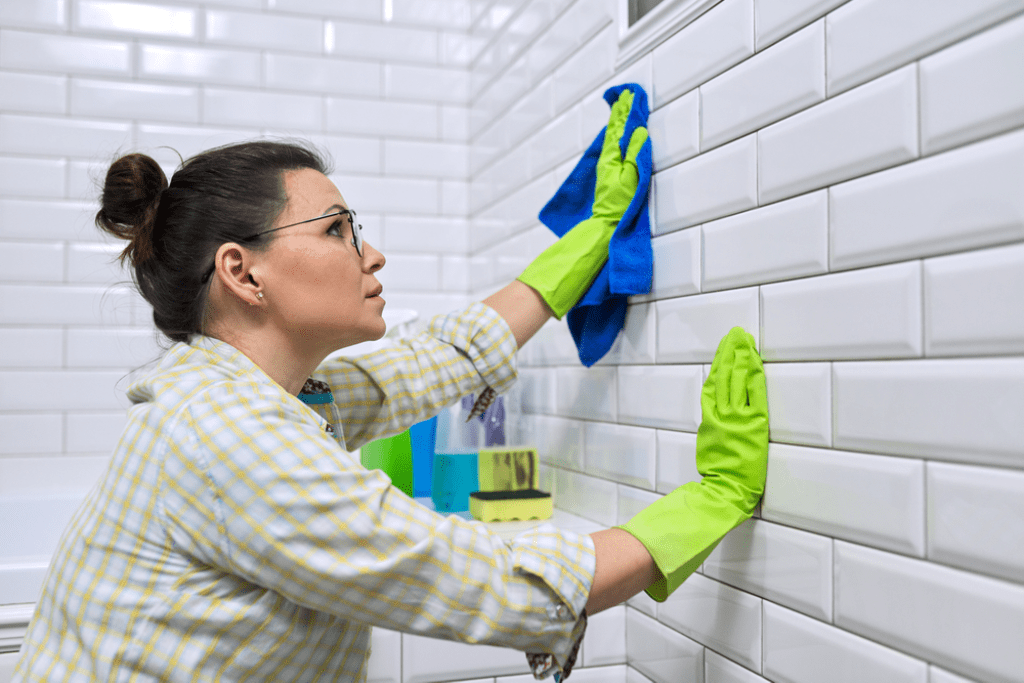
- Professional expertise Professional cleaners have the expertise and knowledge to clean your home thoroughly and efficiently. They have the experience and training to know the best cleaning methods and products for each area of your home. They also have the tools and equipment needed to do a deep clean, such as steam cleaners, high-quality vacuums, and specialized cleaning solutions.
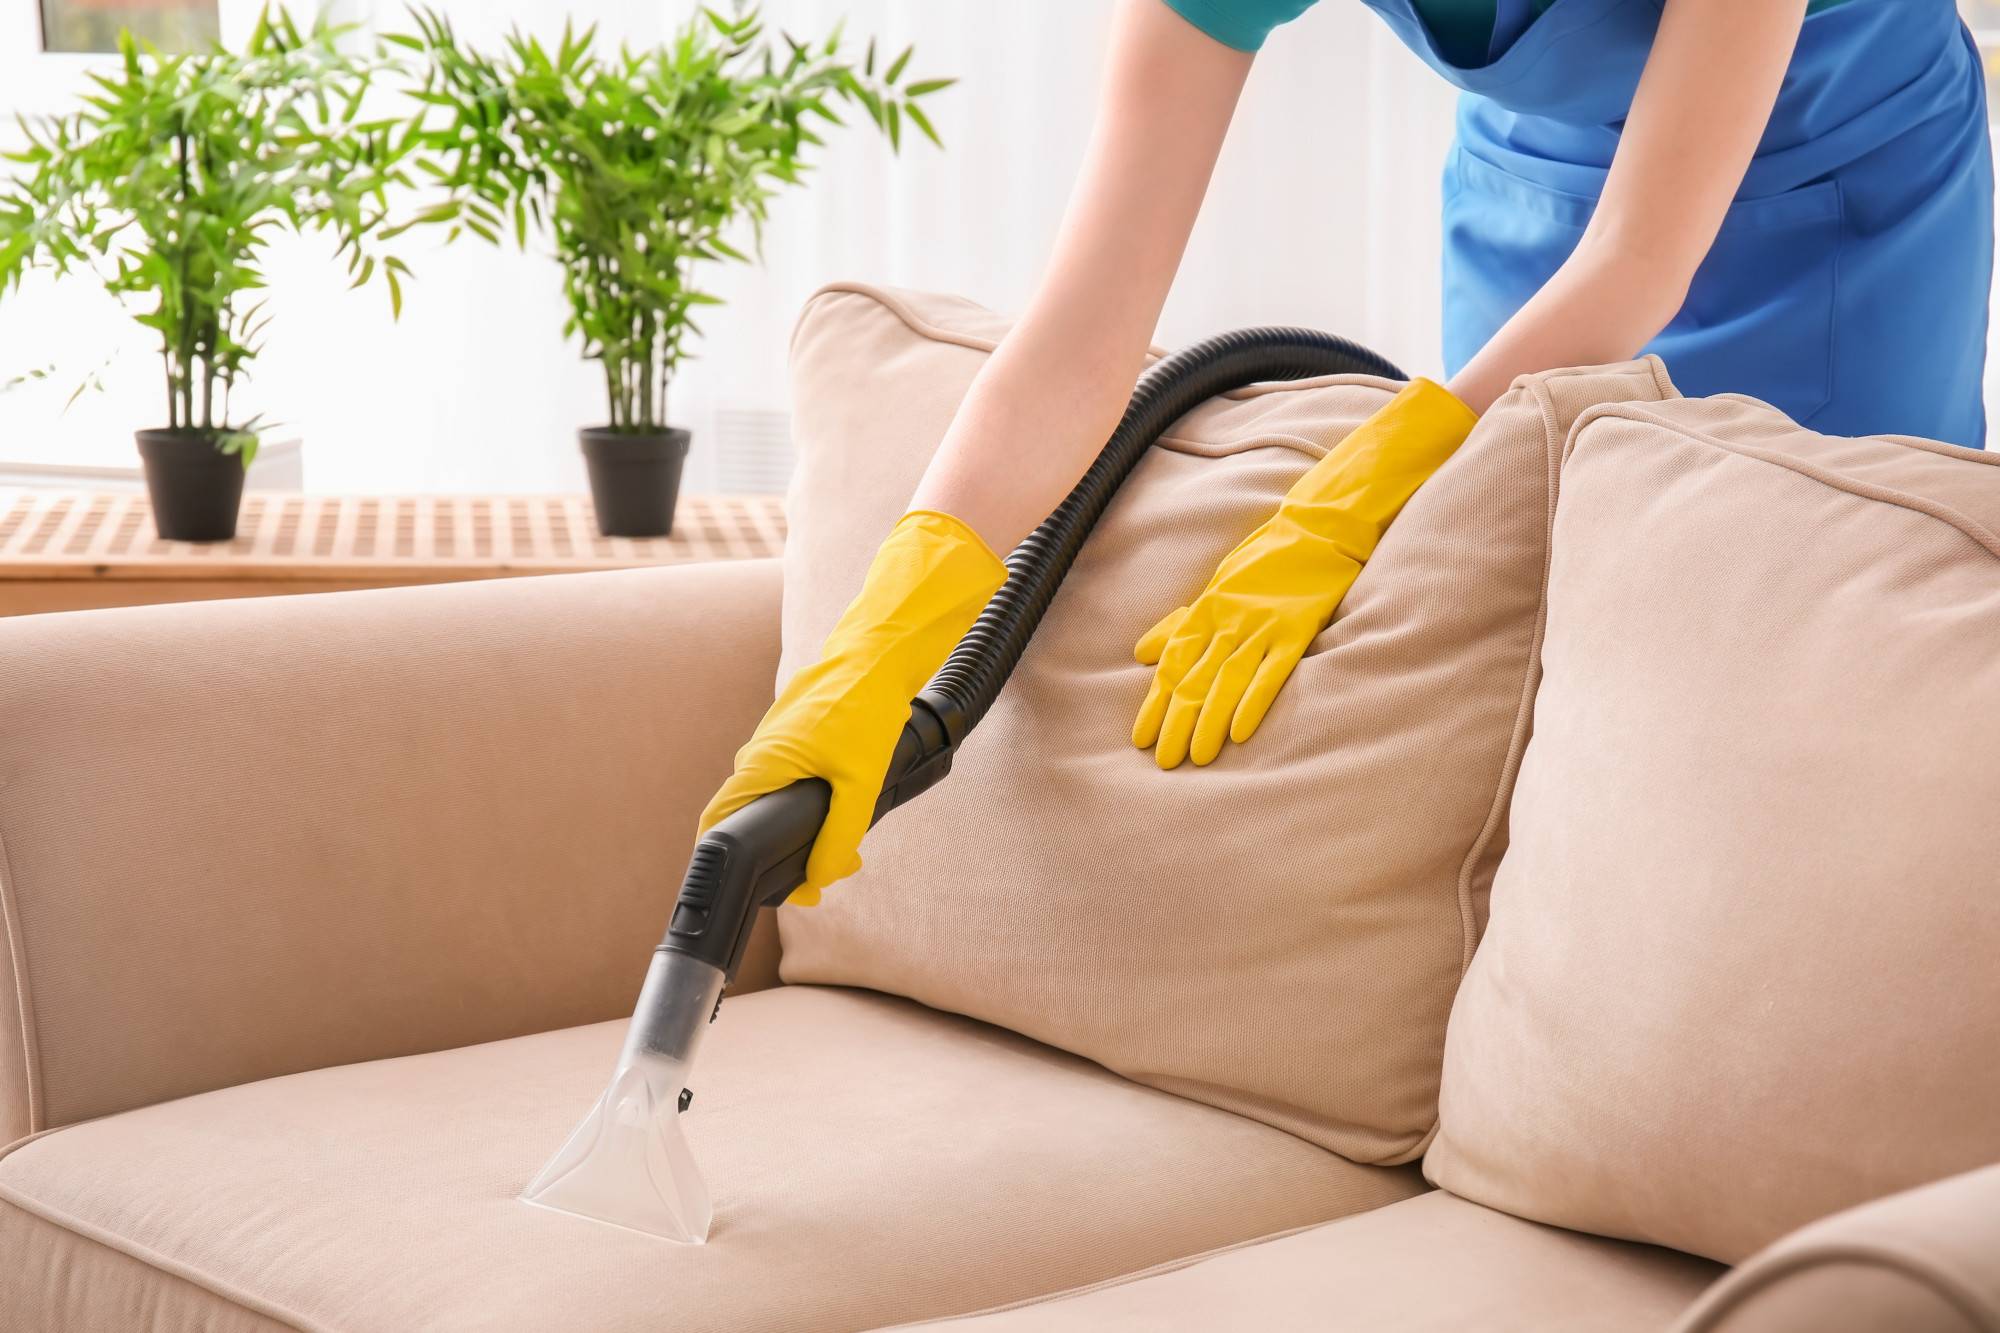
- Improved air quality A professional cleaner can also improve the air quality in your home by removing dust, dirt, and allergens. They can clean carpets, curtains, and upholstery, which are often overlooked in regular cleaning routines. A clean home with good air quality can lead to better health, especially for those who suffer from allergies or respiratory problems.
- Reduced stress A cluttered and dirty home can cause stress and anxiety, making it difficult to relax and unwind. A professional cleaner can help reduce stress by providing a clean and organized space. A clean home can improve your mood, boost productivity, and help you feel more in control of your environment.
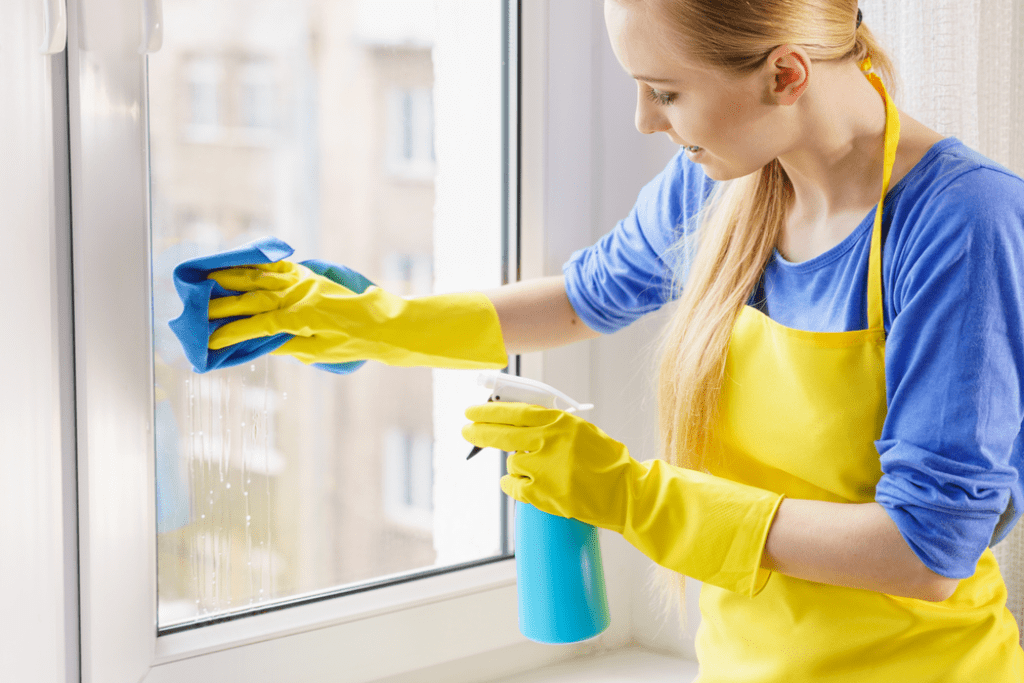
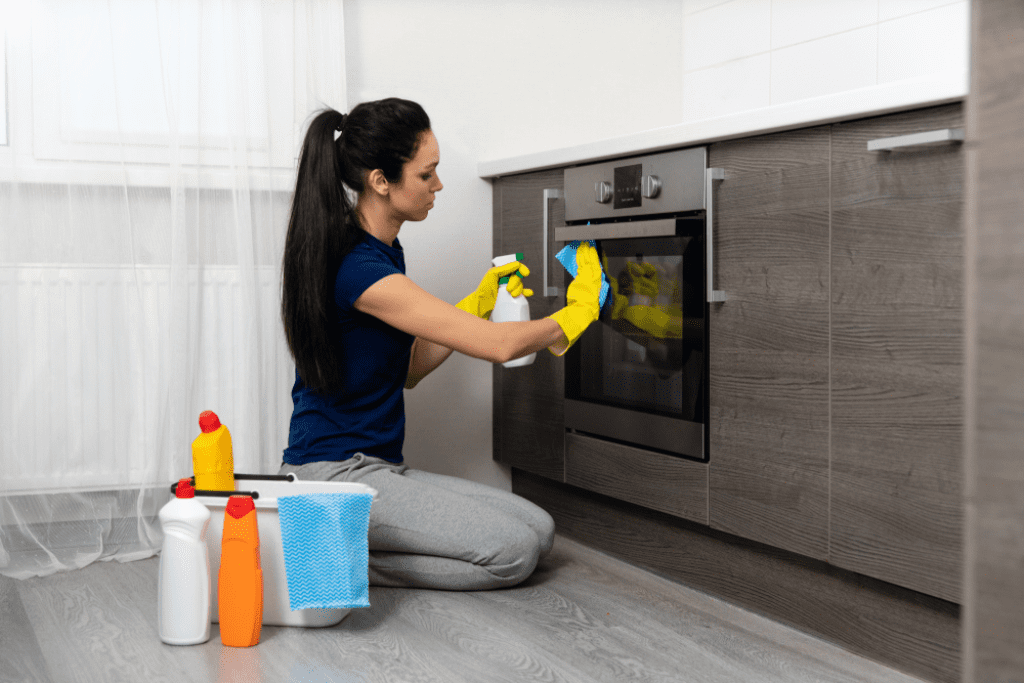
- Customizable services Professional cleaning services can be customized to meet your specific needs. You can choose the frequency and scope of cleaning services, whether it’s a one-time deep clean, weekly, bi-weekly, or monthly cleaning. You can also request specific services, such as cleaning the fridge or oven, washing windows, or organizing closets.
- Cost-effective While some people may think that hiring a professional cleaner is expensive, it can actually be cost-effective in the long run. A professional cleaner can help prolong the life of your furniture, carpets, and other items in your home, saving you money on replacements. Additionally, having a clean home can lead to fewer health issues and expenses, such as doctor visits or medication.
In conclusion, hiring a professional cleaner can provide numerous benefits for your home and well-being. It saves time and energy, provides professional expertise, improves air quality, reduces stress, offers customizable services, and can be cost-effective. So, if you’re feeling overwhelmed by the cleaning tasks in your home, consider hiring a professional cleaner to help you maintain a clean and organized living space.